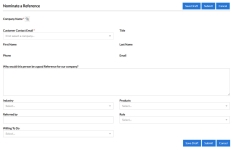
When a customer contact is an excellent advocate for your company and willing to do reference activities, nominate them to be a part of the reference program.
Creating Nominations
Nominations can be created here or via the My Nominations page.
- Click the Nominations Tile on the RUX Overview. The Find an Account dialog will appear.
- Locate the desired customer account by entering 3 or more characters in the Search bar. Click Search or Enter to view results.
- Enter the name of the company being nominated.
- Add your nomination details. Fields marked with an asterisk are required.
- Company Name: Enter the name of the company being nominated. If integrated to a CRM, use the lookup to search your CRM account record contacts. Once selected, information will be auto-populated from your integrated CRM system.
- Customer Contact Email: Enter the customer contact's email.
- Title: Enter the customer contact's title.
- Name: Enter the First Name and Last Name of the customer contact.
- Phone: Enter the Phone number and Extension of the customer contact.
- Email: Enter the Email of the customer contact.
- Why would this contact be a good reference for our company: Enter reason for the nomination and examples of why this contact would be a good reference.
- Industry: Select the industry of your customer.
- Products: Select your customer's product(s).
- Referred By: Enter the name of the sales individual providing the customer reference.
- Role: Enter the role of the customer contact. This field is used to clarify the meaning of a customer Title and maintain consistency throughout your company (e.g. your contact's official title is "Director of Finances", which correlates to your company's "CEO" role).
- Willing To Do: Designate the activities your contact is willing to do.
- Click Submit. This newly created Nomination will appear in My Nominations and be sent to the Customer Reference team for review and approval.
Note: If integrated to a CRM, the Find an Account dialog will appear. Search for your desired account. Once selected, information will be auto-populated from your integrated CRM system. If using CRM Hybrid, which is enabled by an enhancement request, sales users can add non-integrated customers by clicking Create.
Note: If integrated to a CRM, use the lookup to search your CRM account record contacts. Once selected, information will be auto-populated from your integrated CRM system.
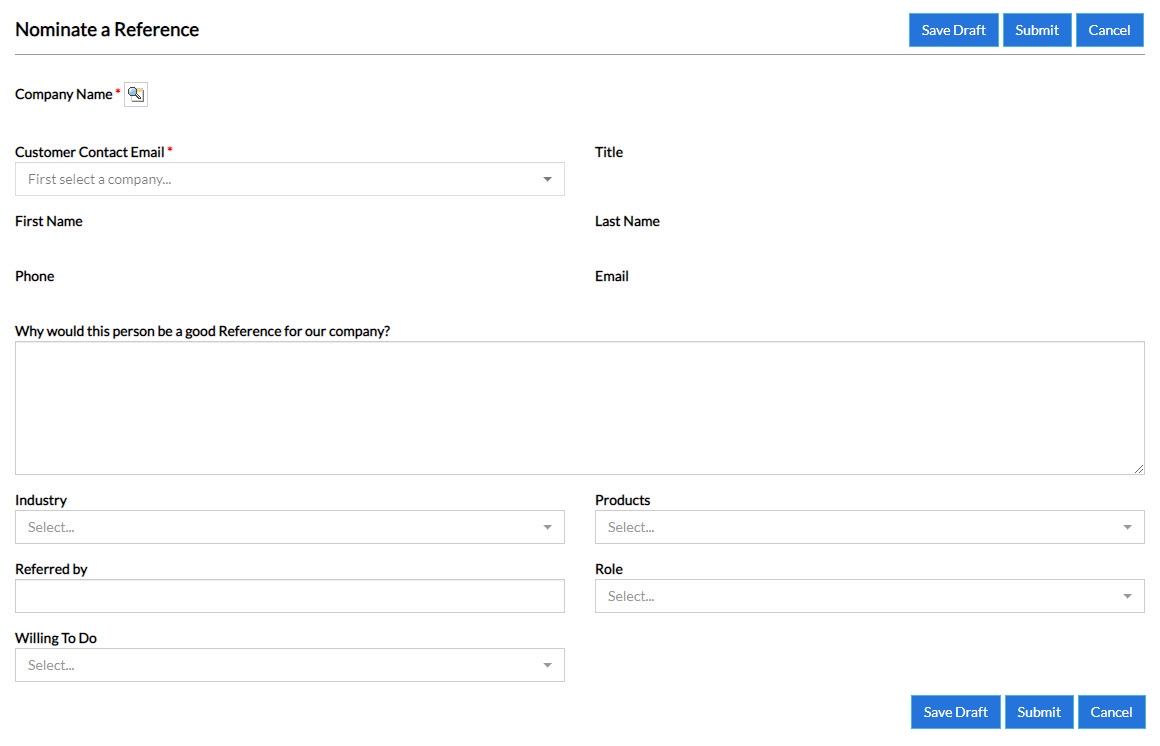
Note: Click Save Draft to save the nomination in its current state and submit at a later time (contact support to enable this feature). Click Cancel if you no longer wish to create a nomination.
Checking Nomination Status
The My Nominations page displays the complete list of Nominations including any important details.

- Click the My Nominations link, located in the header navigation menu. For more information on using the header menu, see RUX Overview.
- View the status of your current Nominations.
- To create a brand new Nomination, click Add Nomination. For more information on creating Nominations, see Creating Nominations.